Almond Coconut Flour Cookies

I am excited to post my first vegan recipe. I, myself, am not a vegan.  I was just curious.  After experiencing the vegan lifestyle first hand, I became even more curious about it.  Vegans actually inspire me–not the cheap celebrity fad kind of vegans, but the true ethical vegans that are willing to really go the mile for their cause. Their philosophy makes life quite inconvenient for them.  The restaurants they can actually eat at are limited and the products they purchase will cost them double of what a normal product should cost.  Thinking about vegans makes me consider my own spiritual life and reminds me of martyrs.  The Christian Gospel sailed through the generations on the blood of the martyrs. You would have to believe in a cause so much in order to be willing to make such dramatic life style shifts or even to put your life on the line for it.   To deal with inconveniences and trials is a small price to pay in the light of what you perceive to be truth. Considering martyrs and people who sacrifice so deeply for their belief deserve at least a chance to speak on their cause.

Most people only hear about vegans through celebrity promotions. A lot of celebrities have turned to a vegan diet in the hopes of achieving a healthier lifestyle.  What is true veganism? Veganism believes in maintaining an ethical relationship between humans and animals. Vegans believe in abstaining from the use or consumption of animal products–i.e. eggs, milk, cosmetics, etc or anything that could possibly be linked to exploitation of animals. I spent some time looking through my nutrition notes and looked at the challenges of vegansim. Vegan diets are often rich in nutrients such as phytochemicals and all the goodies you get from plant resources, however, they lack things like essential fats and Vitamin B-12 often resulting in things like brittle nails and very painful cracked lips. Not to mention, it is difficult to achieve a sufficient protein level. Their lack of fat also alters the distribution of medicine and their pharmacokinetics as well.  Understanding where they are coming from actually makes it easier for me as a practitioner to make dietary recommendations and to aid them on the road to better health.

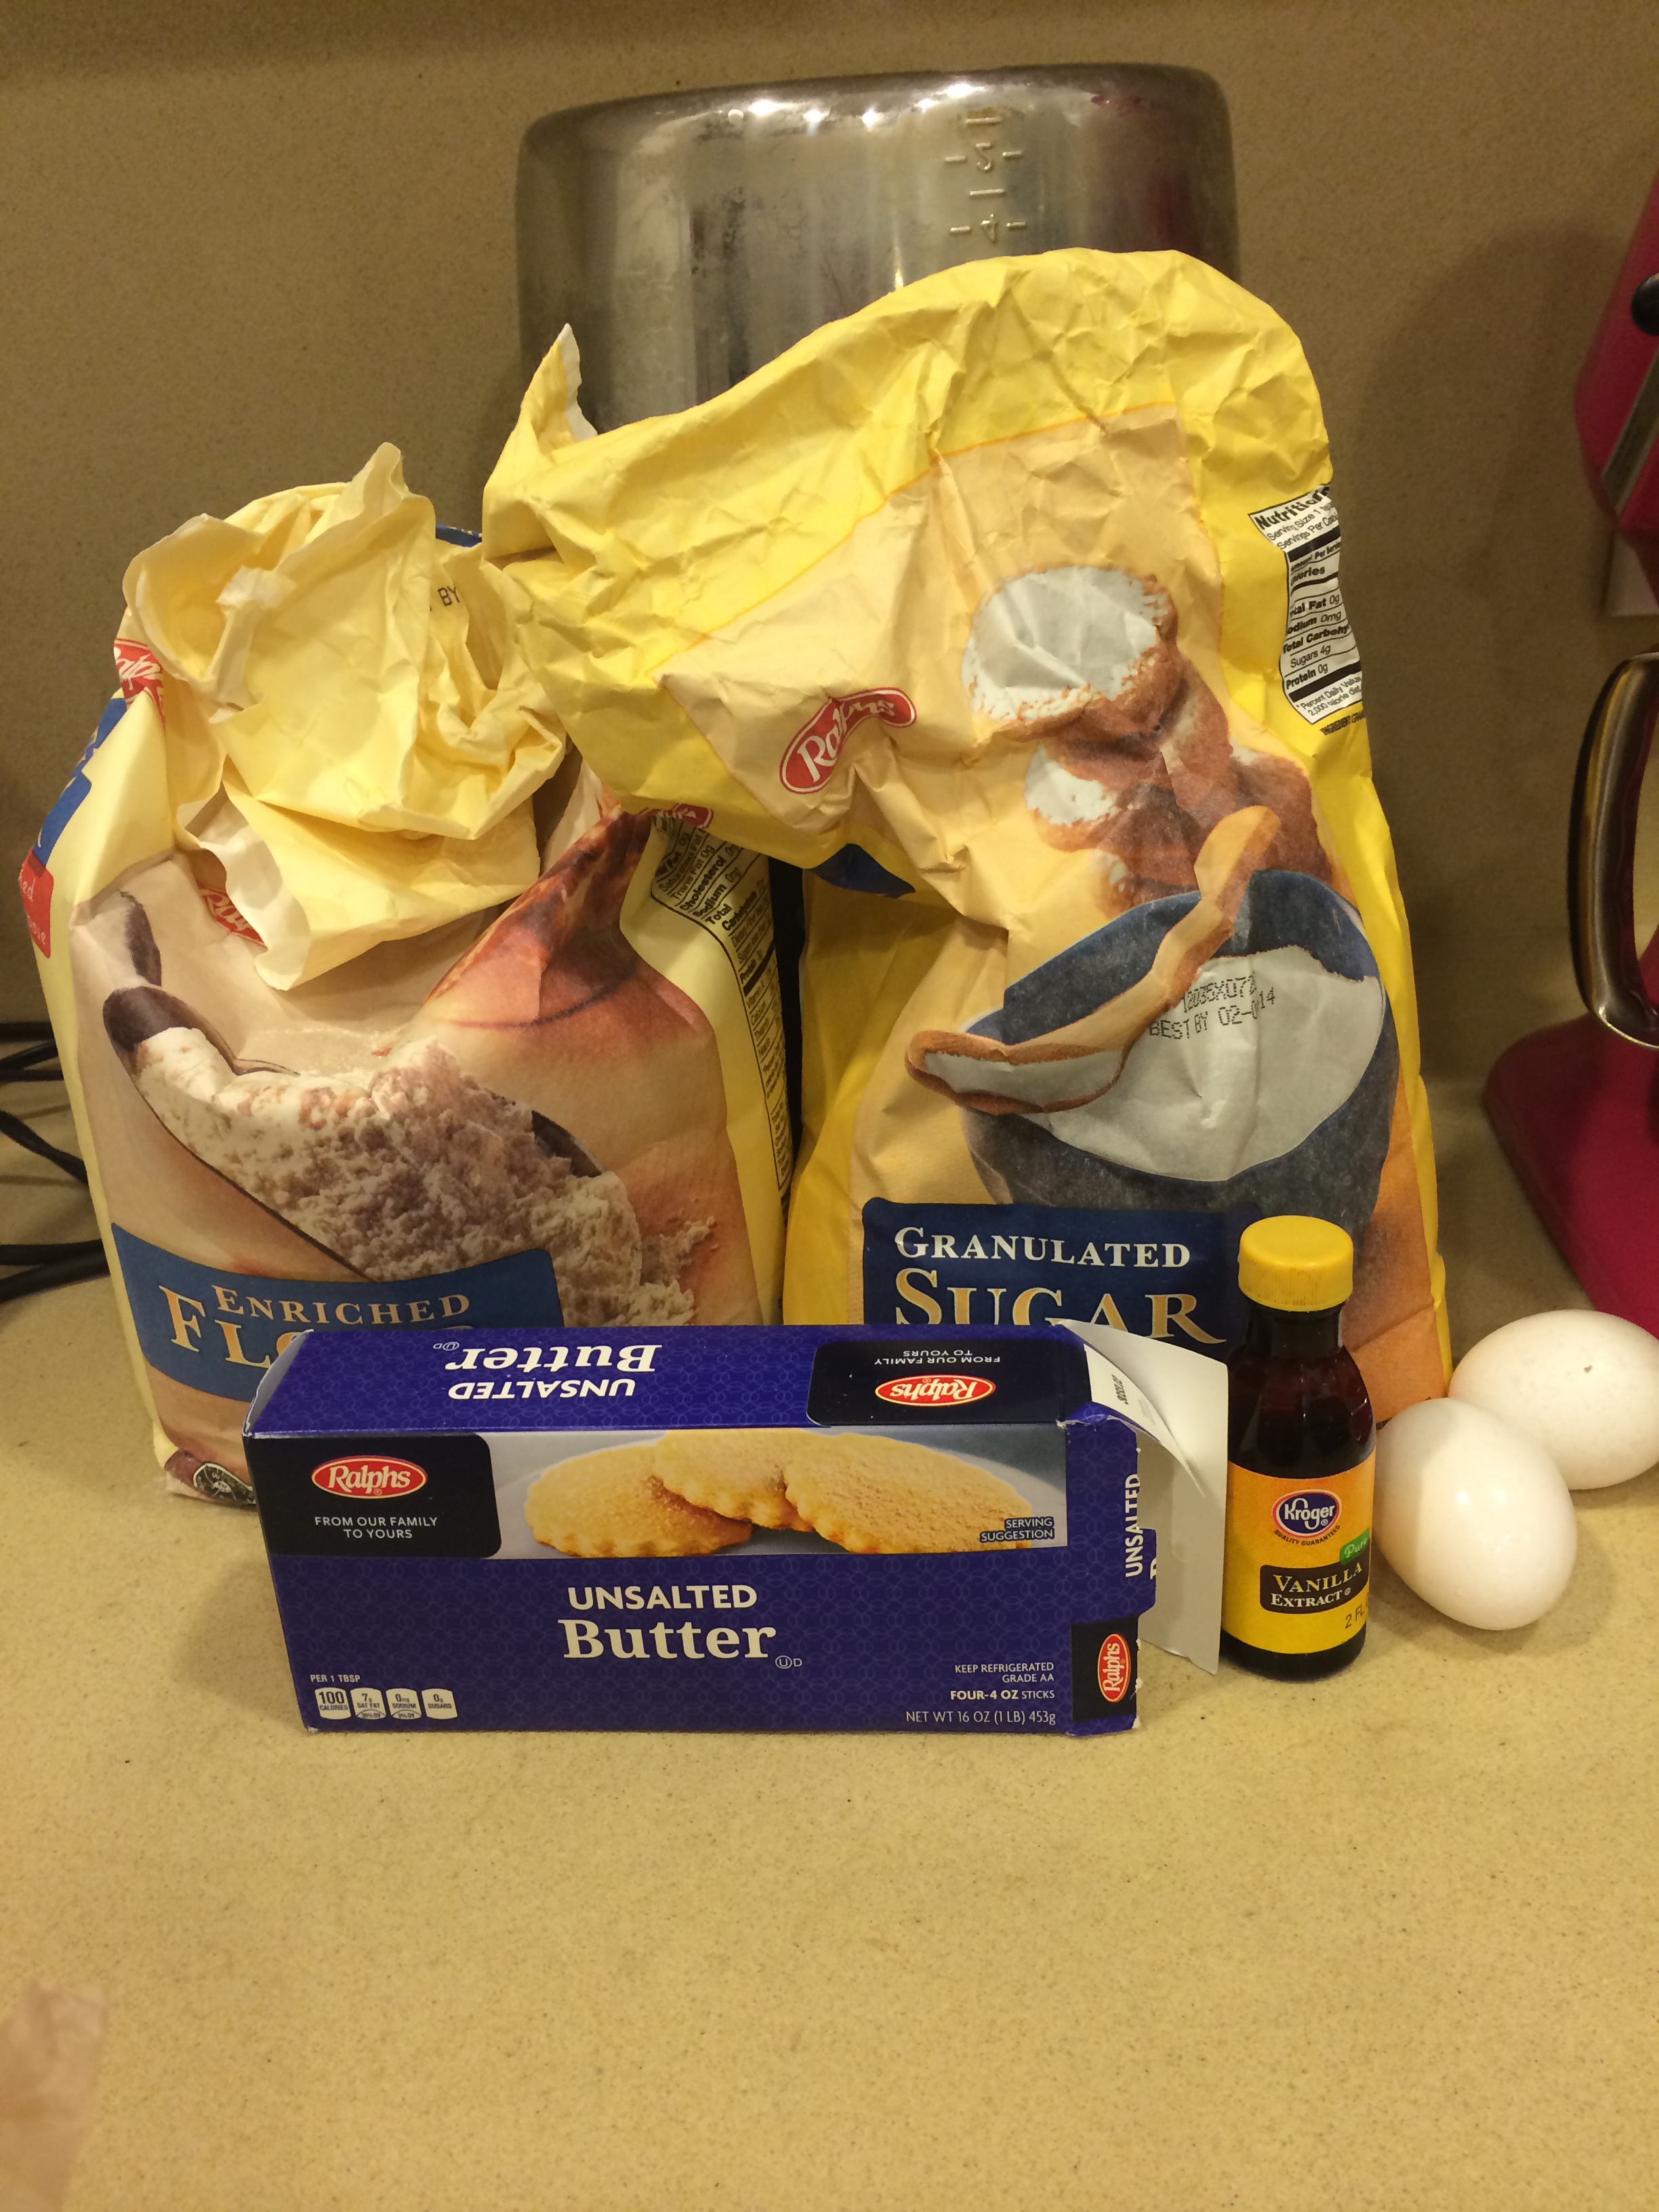
We’ll start by reviewing this simple recipe I found on Pinterest/Healthy Food For Living: Almond Coconut Flour Cookies. I love cookies! Of course I was going to lead with this! The recipe itself utilizes Almond flour as the base which boosts the flavor and bumps up the protein level.  The almond extract really does a fantastic job highlighting the natural flavors of the almond flour. The honey part is questionable, but some vegans are actually ok with it. If you don’t want to use honey, regular sugar is just fine.  There’s a list of companies that manufacture sugar that’s strictly from beets. As a non-vegan, I love this recipe. The coconut shreds really add much needed texture.  The huge protein boost is enough to keep me going for a while. I am also a huge fan of the taste of coconut oil.  Needless to say, if you have a severe nut allergy, stay away from this recipe.  Overall, I do recommend this recipe!

Ingredients

  • 2 Cups Almond Flour
  • 1/4 Teaspoon of Salt
  • 1/4 Teaspoon of Baking soda
  • 6 Tbsp melted coconut oil
  • 1/4 cup of honey (This part is questionable, some vegans are ok with honey and others are not.  If you’re super hard core, just sub this with regular sugar)
  • 1/2 teaspoon of almond extract
  • 2 Tbsp Water
  • 1/2 cup chocolate chips
  • 1/2 cup shredded unsweetened coconut

Directions

  1. Preheat oven to 350°F. Line a large cookie sheet parchment paper.
  2. In a large bowl,  sift and combine almond flour, salt, and baking soda.    photo 1
  3. In another bowl, whisk together the coconut oil, honey, almond extract, and water.photo 2
  4. Add wet ingredients to dry and stir with a rubber spatula or spoon until combined.
  5. Fold in the chocolate chips and shredded coconut.               photo 3
  6. Scoop out 1/4 cup portions and place on prepared cookie sheet. Press and flatten.
  7. Bake for 12 minutes, or until cooked through and lightly golden brown around the edges. Don’t be alarmed! The cookies are almost mushyphoto 4
  8. Allow cookies to cool completely and they will harden over time.

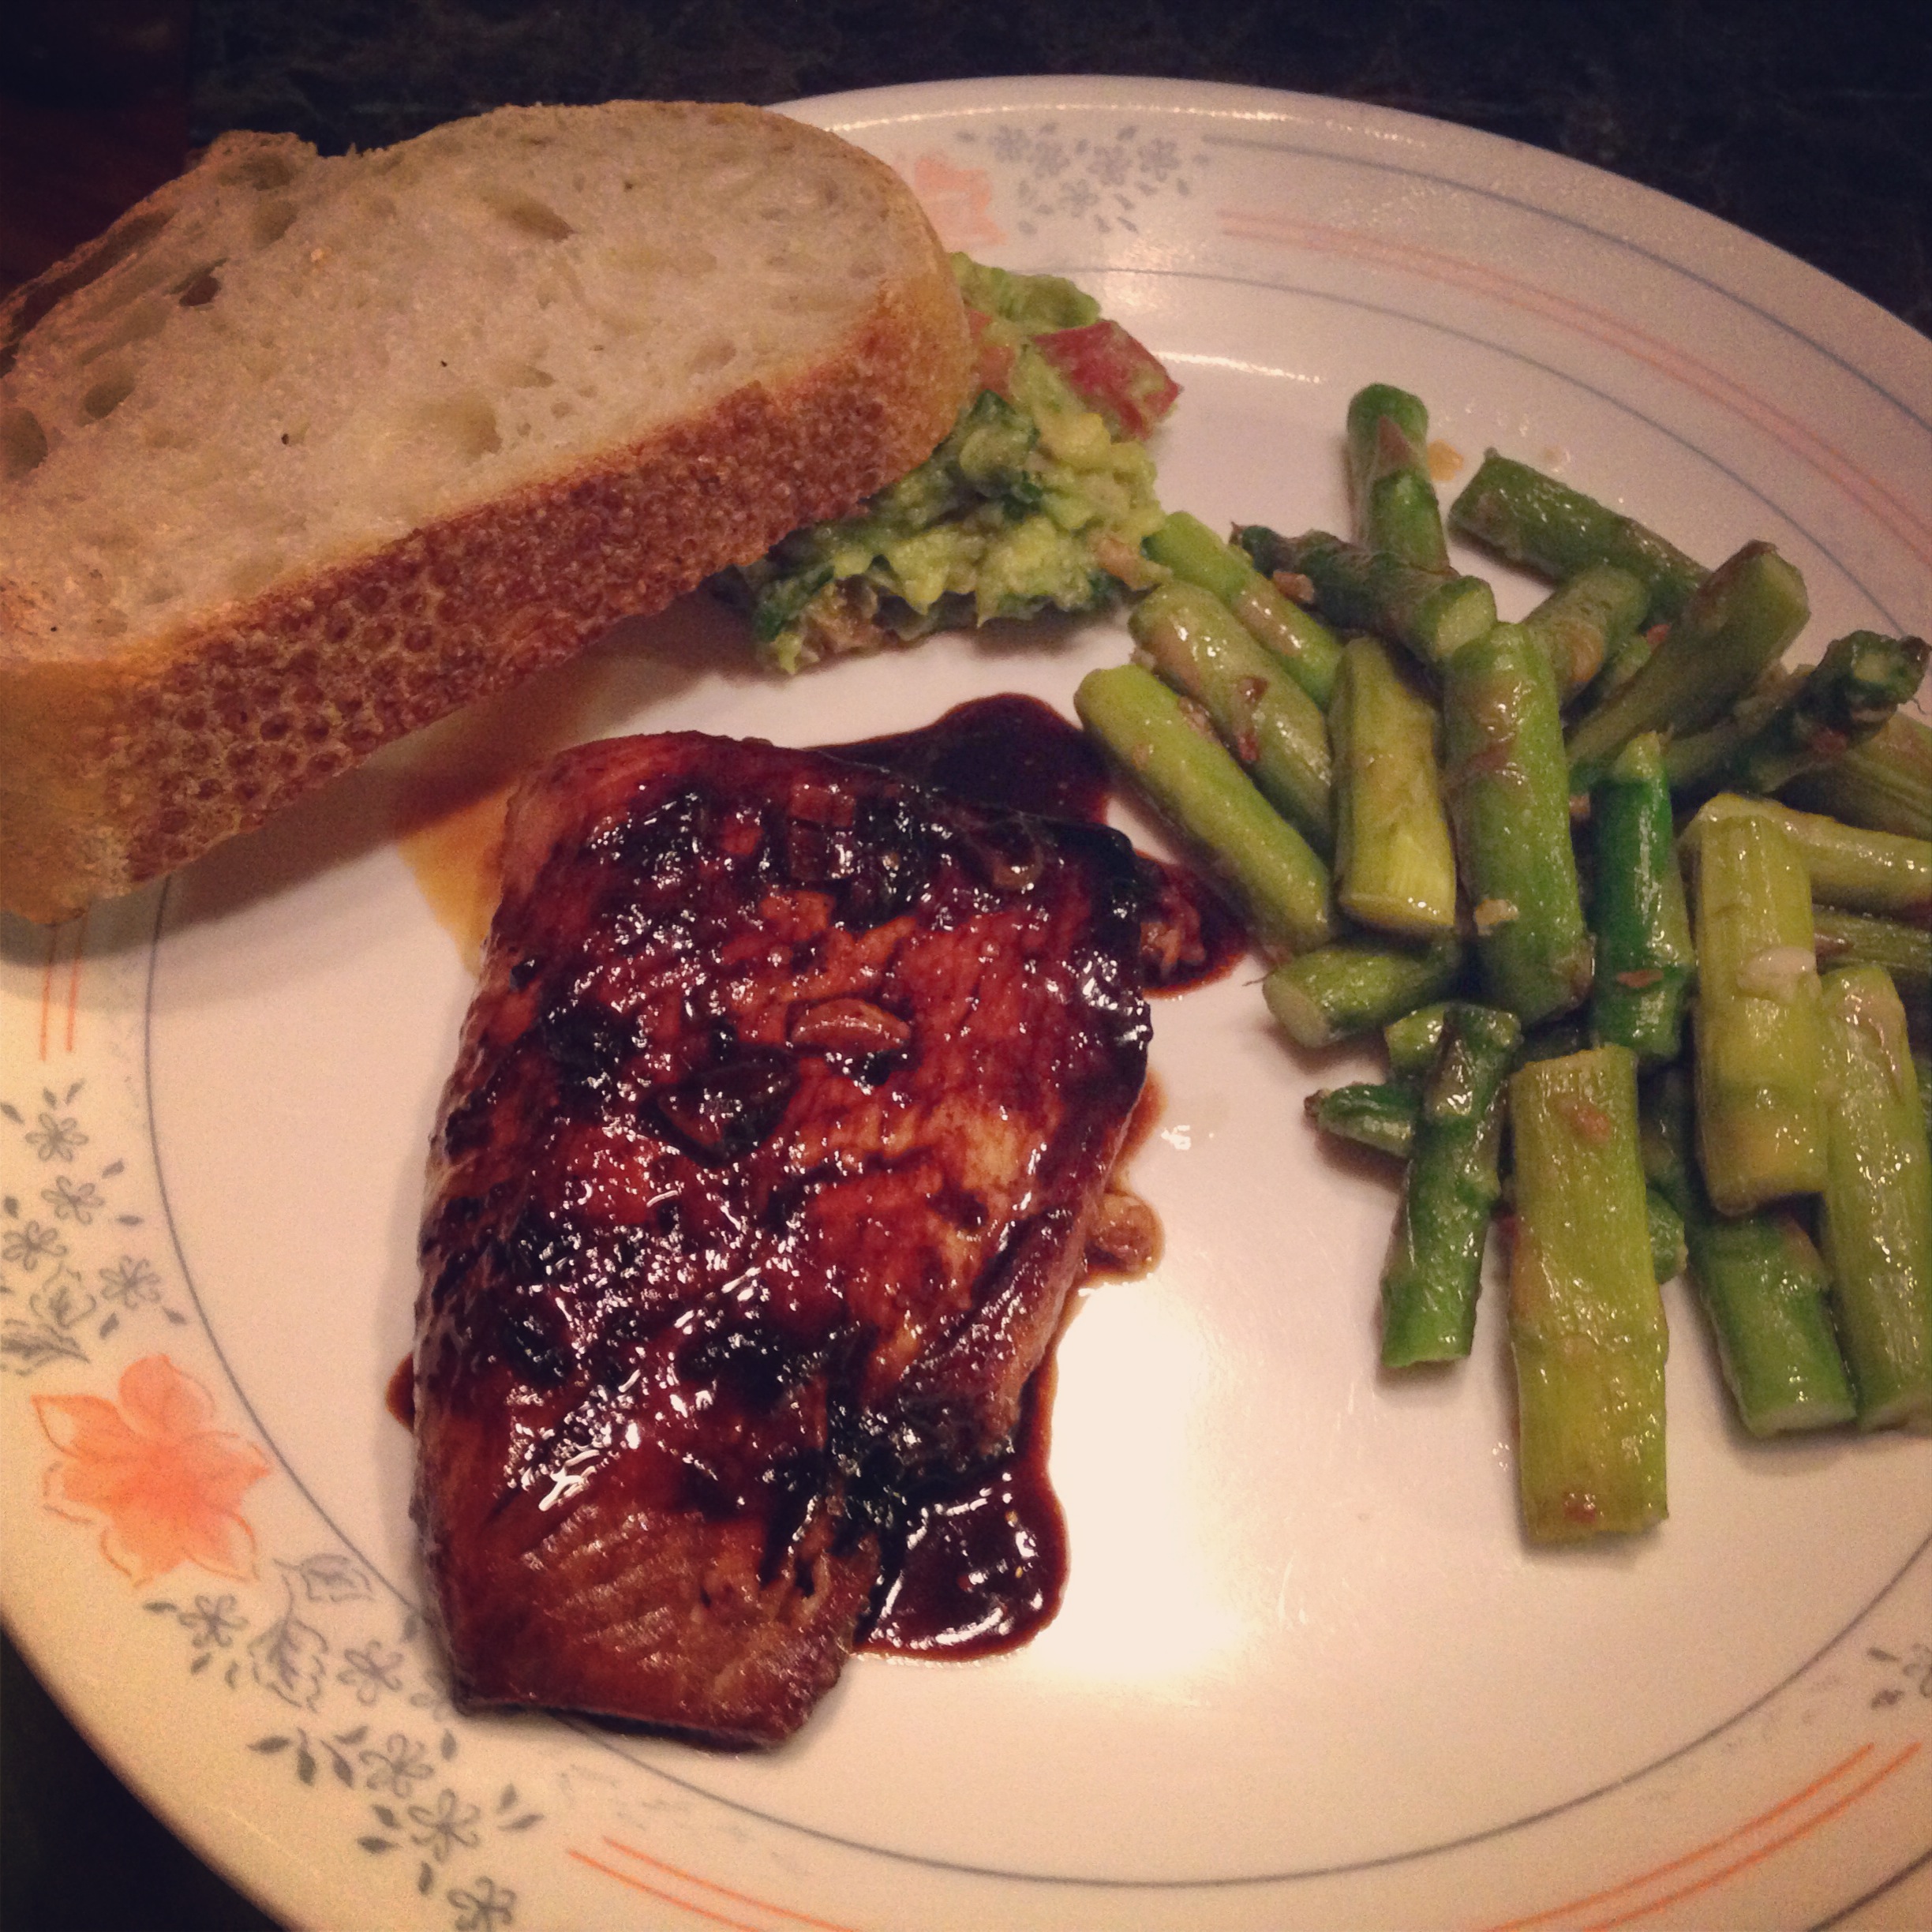
Sorry! I wish I had a picture of the final product but some rascals ate everything by the time I got back home.

Posted in Uncategorized | Leave a comment

The hardest part of being in pharmacy school … “Saying ‘goodbye’ to Socks”

I have this entry on both of my blogs because this is something near and dear to my heart.

I actually started this post on 2/18.  It started out as an angry “why, God, why?” post.  I was so full of anger and hatred because what I valued most was taken away from me, and I didn’t even have a chance to say “goodbye.”  I spent a lot of time editing it down after my emotions settled and came up with my final farewell to Socks.

When I first started graduate school, I never considered the sacrifices I would have to make.  All I wanted to do was race to the end and just finish my education.  I kept telling myself that missing out and the sacrifices are only temporary–finances, birthdays, time spent with family, church events, etc…  February 18, while I was taking my Pharmacy Law exam, I missed out on something I will never get back.  My dog, Socks, was put to sleep as I was taking the exam.  She was so sick that the decision was to terminate her life.  These events were kept from me because I was pre-occupied with school and only found out after the fact. Needless to say, it has been a very difficult week.

People think it is so silly that I’m getting hung up over a dog.  To me, she wasn’t just a dog but a best friend and faithful companion for the last 11 years.  I was there on Jan 10, 2004 when she was born and picked her out of the litter. In the last 11 years, she consistently sat at my feet while I studied and stayed by my side when I cried.  When things in my life fell apart, she was there and didn’t budge. She always hated going to the vet and would force all 80 lbs of herself onto my lap whenever we went.  Because I was in school, Socks was forced to be put to sleep with no one by her side. This will probably be the greatest regret of my life.

By far, this has been the most difficult sacrifice that pharmacy school has demanded from me. I went to the vet today to see her remains. It is a rare event to see me cry in public, but there I was a sobbing mess crying over her body with her dog tag in my hand.  That was all I had left of her.  All I could do was stroke her head and wish that she would wake up when I called her name.  No “take backs” when it comes to time. The most difficult lesson to learn from any death is that God gives and takes away. I’m still very thankful that the Lord blessed me with such a wonderful companion.  Thank you, Socks, for an amazing 11 years.  You will be missed immensely. I love you so much.

38524_1410143367717_3781198_n

Posted in Uncategorized | Leave a comment

Chocolate (Caramel) Macarons

I learned something about myself today.  I can cook and bake under any circumstance EXCEPT when I’m sad. This weekend, I made 2 batches of macarons–1 batch was made when I was under stress and it came out perfectly and the other was made under sorrowful circumstances and came out literally looking like sad faces.  However, being that I have been experimenting, I think I’m a little more qualified in critiquing the recipes I found and I’m better able to point out the pitfalls in making a macaron.

Making a macaron is a big step in my cooking journey.  If there is a dessert to be feared, it would be the macaron.  For the past couple of years, I had been looking at recipes for macarons and I’ve been going back and forth about making it since it was time consuming and difficult with no guarantees of success.  I finally decided to do it.   The credit for this recipe goes to my classmate for finding it and to sweetco0kiepie on Youtube for perfecting it. The dessert itself is extremely technical and unforgiving.  We can always count on the French to figure out the most difficult cooking techniques.   Anything and everything can go wrong–the shell can crack, the batter is too runny from over mixing, the batter is under mixed, the macaron has no feet…yada, yada,yada.

There are several essential parts to a macaron.  The first is the dome, which is slightly aerated so that it has a crisp and clean sound when you tap on it. The aerated texture of the shell gives it that “melt in your mouth” quality to it. The next essential part is known as “the foot,” which is the small ridge that forms around the circumference of the shell.  The third component is the ganache, which to me is more or less the “go crazy and do whatever you want part.”  The most difficult part is creating that perfect shell.  As you will see down below, there are less components in a macaron than most cookies.  To have such simple ingredients and achieve such a complicated dessert means that the emphasis is placed on the quality of the technique.  The fact that it is meringue based means that the devil is in the detail. Any and every mistake will be instantly exposed by the finished product. Hopefully, I’ll be able to point out the pitfalls along the way. I will italicize all of my pointers. 

I will also include 2 separate fillings–ganache and caramel. Just a warning, the caramel is still under experiment.  I followed a Youtube channel and stuck the entire can of condensed milk in boiling water and when I opened it, it exploded EVERYWHERE.  I tried to defy the laws of physics and chemistry (PV=nRT), but the laws of physics and chemistry defied me.

Ingredients:

Shell:

  • 1 cup powdered sugar
  • 3/4 cup of almond meal
  • 2 tablespoon unsweetened cocoa powder
  • 2 room temperature egg whites
  • 4 tablespoon of granulated sugar

photo 2

Caramel Filling:

  • 1 can of condensed milk

Chocolate Ganache Filling:

  • 8 oz of semi sweet chocolate
  • 1 cup of heavy whipping cream
  • 1 tablespoon of vanilla extract

Directions:

Make Ganache or Caramel First:

1. Caramel: Take a can of condensed milk and boil in simmering water for 2 hours and let cool in fridge for 1.5 hours

photo 1

  1. Chocolate Ganache: Mix all ingredients in a bowl, and place pot of boiling water. Let cool in fridge for about 1 hour

photo 4

photo 5

Shell:

  1.  Sift powdered sugar, almond meal, and cocoa powder. Make sure it is mixed thoroughly.  You have to sift it, otherwise you get a clumpy macaron!photo 3
  2. Let’s make the meringue! In a KitchenAid Stand mixer, whisk the egg whites using the whisk attachment until it starts to froth slightly.  Add in 1 tablespoon of granulated sugar at a time.  Kick it into high gear until you get a beautiful glossy  finish on your meringue with soft peaks. If you’re wondering what a peak looks like, I have a picture below.  If you’re daring enough to do a test, pick up the bowl and hold it over your head.  If nothing falls onto your head, you’ve done it correctly, if it drops on you…you need to beat it more. You have to make sure this part is correct because the meringue is what gives the macaron the “air like” texture.                                                        photo 1            photo 3 Just in case you were wondering, I did the test myself and held it over my head ( you can even see my ceiling light)
  3.    Remove the bowl from the stand, fold in the almond/powder sugar/cocoa mixture 1/3 at a time. Mix until you get a “sludge” like consistency where the batter just drips heavily off of your spoon. THIS IS WHERE YOU CAN MESS UP EASILY! Do not over-mix or under-mix.  If you under-mix your batter, your macaron will be feet-less! If you over-mix your batter will be runny and you will have a flat macaron. Be sure to mix gently as well and be resourceful with how you mix it, you want to mix as thoroughly as possible with the least amount of action so as to preserve the air. 
  4. Line a cookie sheet with wax or parchment paper.
  5. Transfer batter into a piping bag or you can do what I do and make a ghetto one out of a plastic Ziploc bag.  Pipe out batter in circles to the desired size.photo 3photo 4
  6. Once you’re done, pick up the tray and bang it downwards against the counter to release air bubbles. Pop any remaining air bubbles with a sharp knife. It is so important to do this before the macaron dries out.  In one of my batters, I did not catch it in time so all of the bubbles got stuck and my macaron looked like a leper when I was done. 
  7. Allow them to set on the counter for about 30 minutes.  Touch the side of one of the macarons gently.  If you don’t get any batter on your finger, you’re ready to bake! This part is also essential to form the feet.
  8. Bake the macarons at 300 degrees Fahrenheit on the top and bottom most rack for 9 minutes.  If you have 2 trays, switch the top tray to the bottom rack and the bottom tray to the top rack and turn the tray around 180 degrees to ensure even baking.  Leave it in the oven for another 9 minutes Watch the time! they burn easily!photo 5
  9. Let the shells cool completely. Take a spoon or knife and spread your filling on the flat slide of one shell, take another shell and sandwich it into a macaron!photo 1photo 2

Voila! There you have it.  After making this recipe, I can finally understand why stores charge $3/pop. This took a lot of work!

 photo 3

Posted in Challenge, Chocolate, dessert, Expensive, Experimental, First time | Leave a comment

Almond Coconut Chia Seed Pudding

Thanks to my continuous Pinterest obsession, I came across this fast and easy breakfast recipe. Pop a couple of berries in the next morning and you’re good to go!  This recipe was great for me because in the last year, I have managed to really do a number on my GI tract.  Sometimes life gets so busy that eating becomes such a secondary thing.  This recipe is perfect, the ingredients promote satiety and keeps me going for a while and it tastes great! I think the magic comes from the chia seeds.  When chia seeds are mixed with liquids, it adopts a gelatinous coating so that’s what makes it so pudding-like.  Most people like to sub out the Almond Coconut milk for just regular Almond milk, but I feel that the coconut really adds more body to the entire recipe.

The recipe is great in terms of positively contributing to your dietary requirements.  The chia seed supposedly is high in Omega 3s, which will help you combat inflammatory processes and possibly cardiovascular disease.  There have yet been studies done or medical journal articles that can soundly prove the cardiovascular benefits of chia seeds, but there are none that can demonstrate harm either.  The Almond Coconut milk brand I bought was from Blue Diamond and is only 60 calories per cup. The addition of fruits or almond shavings will give you the antioxidants and proteins you’ll need!

To my fellow busy bodies, be a good steward of your body! Don’t forget to eat even on those busy days.  Whether, then, you eat or drink or whatever you do, do all to the glory of God. 1 Cor 10:31

Ingredients

Serves 2

  • 1/3 cup of Chia Seeds
  • 2 Cups of Almond Coconut Milk
  • 2 Tablespoons of honey or maple syrup
  • 1/2 teaspoon vanilla extract
  • 1-Jar-16oz ( I used an old Prego Jar)
  • handful of any berries or fruit

Directions Day 1 1. Pour Chia seeds ($4.99 at Trader Joe’s) and Almond coconut milk into the jar.  Close the lid and shake!

photo 2 photo 3photo 4

2. Add in 2 tablespoons of honey/syrup and mix well

photo 5

3. Add in 1/2 teaspoon of vanilla extract. Shake!! photo 1

4. Leave in refrigerator over night.

Day 2

1. Pour into 2 separate bowls. Top with a handful fresh berries

2. Enjoy!

photo (2)

Posted in Uncategorized | Tagged , , , | Leave a comment

Snickerdoodles

I love cookies.  The only thing that can make a cookie better is a cookie that tastes like a churro and that is exactly what a Snickerdoodle tastes like to me.  An added bonus is that this cookie actually utilizes everything that is already an every day product save for the cream of tartar.

Now, with a name like “snickerdoodle” I was expecting an all-American cookie.  However, after “wikipedia-ing” it ( I know, super reliable), it seems as if the snickerdoodle has little to no history.  Other websites claim that the Snickerdoodle found it’s origins first within the Roman Empire  where it first started out as a tiny cake. Over the years it made its way to Medieval England where it was referred to as a “jumble.” The Germans adopted the cookie and began giving it a more “ginger bread” like quality and called it “Schnecke” or “snail-like”. Perhaps the earliest known record came from the Europeans who brought their recipes to the New World.  The “Schnecke” cookie eventually became a staple and the no one knows why “-doodle” was tacked onto the end.  Food history in a nutshell.

The cookie itself is supposed to be very sweet.  Judging by the amount of sugar, this is definitely not diabetic-friendly.  The recipe I chose to use actually has a more cake-like quality.  After eating a ton of snickerdoodles, I decided that I wanted to make one that was a little more unique.  Most snickerdoodles are thick and chewy and my assumption is because of the additional margarine. The cookie I was going for is more light and airy with a little bit of a sugary-crunch to add some texture so I scrapped the margarine and reduced the sugar.   The cookie is less sweet than normal snickerdoodles, but I find it quite addicting.

Ingredients

  • 1 1/2 cups white sugar

  • 1/2 cup butter, softened

  • 1 teaspoon vanilla extract

  • 2 eggs

  • 2 3/4 cups all-purpose flour

  • 1 teaspoon cream of tartar

  • 1/2 teaspoon baking soda

  • 1/4 teaspoon salt

Cookie Rub: 

  • 2 tablespoons white sugar

  • 2 teaspoons ground cinnamon

Directions

  1. Preheat oven to 375 degrees F.
  2. Combine 1 1/2 cups white sugar, butter or margarine, vanilla and eggs. Mix well. (I chose to use a cake stand mixer since it was a lot faster–mix it on a 2)

Snickerdoodle Ingredient

photo 2

Snicker3.  Stir in flour, cream of tartar, baking soda and salt. Blend well. Shape dough into 1 inch balls.


4. Combine 2 tablespoons sugar and 2 teaspoons ground cinnamon.

photo 4

5. Flatten the ball and roll in the cinnamon mixture and re-roll it into a ball and flatten once again. This will give it an extra little flavor and an added crunch on top


photo 2


photo 1

photo 36. Coat dough in sugar/cinnamon mixture and place 2 inches apart on ungreased baking sheets.

photo 57. Bake 8 to 10 minutes or until set. Immediately remove from cookie sheets.

photo 4

Posted in Cookies, dessert, First time, Refrigerator Clean Up | Leave a comment

Spinach Artichoke Dip

My boyfriend pointed out that I always say “I can make that at home” but I never really do it.  In light of that,I decided to make good with my promise and surprise him with this dish as our appetizer course for our  2-year dating anniversary.  This recipe that I found is a copycat of the Spinach Artichoke Dish that you would find at Island’s.   It usually costs like $10 (which only feeds 3).  With this recipe I can now feed 12 for $5. Yay for penny pinching!

Ingredients

  • 1 (8 ounce) package cream cheese, softened

  • 1/4 cup mayonnaise

  • 1/4 cup grated Parmesan cheese

  • 1/4 cup grated Romano cheese

  • 1/4 cup shredded mozzarella cheese
  • 1 clove garlic, peeled and minced

  • 1/2 teaspoon dried basil

  • 1/4 teaspoon garlic salt

  • salt and pepper to taste

  • 1 (14 ounce) can artichoke hearts, drained and chopped

  • 1/2 cup frozen chopped spinach, thawed and drained

Directions:

  1. Preheat oven to 350 degrees F (175 degrees C). Lightly grease a small baking dish.
  2. In a medium bowl, mix together cream cheese, mayonnaise, Parmesan cheese, Romano cheese, mozzarella cheese, garlic, basil, garlic salt, salt and pepper. Gently stir in artichoke hearts and spinach.

photo 2

photo 1

photo 3


3. Transfer the mixture to the prepared baking dish. Bake in the preheated oven 25 minutes, until bubbly and lightly browned.

photo 4

photo 5 Overall, I love this dish!  I was literally eating it by the spoonful while making it!  The only thing I might want to try later on is add a teaspoon of ancho chili pepper to slightly enhance the flavor.  I loved pairing this with flour tortilla chips.
Posted in Appetizer, Herbs, Quick Meals, spinach | Leave a comment

Wedding Saver–DIY Boutonnieres

So I know I have been a little bit MIA.  Believe me, I have been gone with good reason and that reason is known is grad school. Well, I guess partly because of my job too.  I am now a proud pharmacist intern of CVS. Yup, I am now a corporate baby!  Can I just say that the next time you go to CVS and your pharmacy looks quiet, don’t hate on the technicians and expect your prescription to be ready within 2 minutes.  Trust me, every employee is always doing something and maybe you don’t see it, but  there are at least 30 people ahead of you.  SO YES, your prescription will take a minimum of 15 minutes to fill.

All in all, my job has been stressful and money has been a little tight for me.  I guess that comes with growing up.  I live in a apartment that has limited pans or baking supplies so I had to save up money to buy pots, pans, seasonings, etc… That means that I don’t have much to post on my blog.  Tonight will actually be the first time that I get to cook a decent meal in a while.  I am celebrating my 2nd (dating) anniversary with my boyfriend.  So…stay tuned for my review on a recipe for pork chops!

So now that I’ve caught you up on my oh so very exciting life, let’s get to the good stuff.  This last week, I was asked to coordinate flowers for a wedding.  For those of you who follow me, you’ll know that I arrange flowers as an amateur so to head up a project this big was very scary. However, I’d just like to say two things: 1. I have a new respect for florists and 2. Florists, you over charge WAYY TOO much as in >$5,000 too much.  I’m a strong believer in not spending a lot of money on weddings.  Of course, that sounds absurd while living in the same era as Kim Kardashian.   A wedding is a symbol and a public covenant made with God and your future spouse to remain faithful and to love one another sacrificially as Christ loved and died for the church. More often than not, people over emphasize parts that don’t matter and feed their vanity and pride by engaging in competitions of who can throw the next royal wedding.  Absurd. I hate to disappoint, but there is a life after the wedding and perhaps divorce rates would be lower if people focused more on the relationship than some big event.

Anyways, like I said, I accepted the job! Brides, first rule, plan like a type A person give yourself a ton of cushion room. First things first, gather a team of at least 4-5 people to make the job a little faster and allocate a minimum of 4 hours the night before and leave plenty of fridge space or containers with water.  Allocate 2 hours the next morning for final set up.   In this tutorial, I will only be showing you how to do the boutonniere.   In one night, I made about 28 of them.  I will probably embed the video in another post or so that shows you to to make bouquets.

Materials for 1 boutonniere:

Floral tape (lots of it)

1 Rose (or focal flower)

1 Leaf of your choice ( I used the left over ones from the roses)

1 sprig of Baby’s breath

1 sprig of Hypericum Berries

Scissors

Ribbon

3 Pearl Pins

Directions:

1. Take your rose and de-thorn and remove all of the leaves.  Cut the stem until you have about 1.5 inches left. Wrap from the base of the flower to the bottom with floral tape photo 2

photo 1

2. Choose a leaf with considerable stem length left on it, your hypericum berry ( with 1-1.5 inch stem), and your baby’s breath and arrange it against the rose in the way you like it.  Secure and wrap  with floral tape from the top all the way to the bottom in a spiral format.photo 3

3. Take about 2″ of ribbon and wrap from the top downwards until you reach the bottom, use the pearl pin and in an upward motion (this part is a little tricky, you kind of have to feel around for it) secure the ribbon in its place

photo (4)

4. Place 2 pearl pins directly through the stem of the rose for pinning

photo 5

And there you have it!!…
photo 4

Posted in Experimental, First time, Flowers, Wedding | Leave a comment

Ginger Glazed Mahi Mahi

Finally, a new recipe! I feel like it has been ages since I got to cook.  My younger brother was recently accepted into the Air Force (yay him!), however, the terms of his acceptance includes weight loss.  It has been quite difficult for me to watch him struggle with his weight.  Having been in his shoes with trying to keep down the weight, I wanted to help him.  One key to losing weight is to consume the right kind of protein.  If you guessed fish, you’re correct.  Consuming the right balance of protein and carbohydrates promotes satiety.  I’ve been making baked salmon for the last couple of years now.  This time around, I decided to graduate onto something new–Mahi Mahi.

Now those who follow my blog know that I am most comfortable with an oven.  I’d say >90% of what I make involves an oven. Instead of baking the Mahi Mahi, I decided to overcome my fears and I threw it on a pan and seared it. Granted, I burned myself multiple times, with a speck of oil even flying into my eye–ouch.

Anyways, onto the most important part.  I liked this recipe.  Although, based on a critical palate, I feel like I had made glorified Teriyaki sauce.  However, this fish was so easy to make and extremely fast.  Not only that, I managed to find everything (except the Mahi Mahi) in my fridge.  Another plus is that Mahi Mahi was actually cheaper than salmon.  I snagged 4 filets at Trader Joes for around $9. I definitely recommend this those who are in a hurry.  To add some color to the plate, serve with asparagus and drizzle some of the glaze on it. 

Ingredients

  • 3 tbsp honey
  • 3 tbsp soy sauce
  • 3 tbsp balsamic vinegar
  • 1 tsp grated fresh ginger root
  • 1 clove of garlic (crushed)
  • 2 tsp olive oil
  • 4- 6 oz. Mahi Mahi filets
  • salt and pepper to taste
  • 1 tbsp vegetable oil

Directions

  1. In a shallow glass dish, stir together the honey, soy sauce, balsamic vinegar, ginger, garlic and olive oil. Season fish fillets with salt and pepper, and place them into the dish. If the fillets have skin on them, place them skin side down. Cover, and refrigerate for 20 minutes to marinate.
    photo 1
  2. Heat vegetable oil in a large skillet over medium-high heat. Remove fish from the dish, and reserve marinade. Fry fish for 4 to 6 minutes on each side, turning only once, until fish flakes easily with a fork. Remove fillets to a serving platter and keep warm.
    photo (1)
  3. Pour reserved marinade into the skillet, and heat over medium heat until the mixture reduces to a glaze consistently. Spoon glaze over fish, and serve immediately.photo 3
Posted in Fish, For the Health Conscious, Healthy, Main course, Uncategorized | Leave a comment

Pumpkin Pie

Canned pumpkin puree is not real pumpkin?! Well, that was what I saw on the Yahoo! feed Thanksgiving morning.  To complete the meal on Thanksgiving, I had to make pumpkin pie.  To be quite honest, the pie came out exactly like a store bought pie.  As much as I love the romantic idea of making my own pie, I probably should have just bought it and made my own life easier. I pulled this recipe off of Allrecipes and it was called “Chef John’s Pumpkin Pie.”

Ingredients

  • 1 (15 oz.) can pumpkin puree
  • 3 egg yolks
  • 1 large egg
  • 1  (14 oz) can sweetened condensed milk
  • 1 tsp. ground cinnamon
  • 1/2 tsp ground ginger
  • 1/2 tsp salt
  • 1/8 tsp. Chinese 5-Spice Powder
  • 9 inch unbaked pie crust

Directions

  1. Preheat oven to 425 degrees F (220 degrees C).
  2. Whisk together pumpkin puree, egg yolks, and egg in a large bowl until smooth. Add sweetened condensed milk, cinnamon, ginger, salt, nutmeg, and Chinese 5-spice powder; whisk until thoroughly combined.
  3. Fit pie crust in a 9-inch pie plate and crimp edges.
  4. Pour filling into the pie shell and lightly tap on the work surface to release any air bubbles.photo 1
  5. Bake in the preheated oven for 15 minutes. Reduce heat to 350 degrees F (175 degrees C) and bake until just set in the middle, 30 to 40 minutes. A paring knife inserted into the filling, 1 inch from the crust, should come out clean. Allow to cool completely before serving.

photo 2

Posted in dessert, Experimental, First time, Pie, Pumpkin | Leave a comment

Cranberry Sauce

So, as always, every holiday I like to try at least 1 new recipe.  Fortunately, I’ve decided to over-exert myself and attempt not 1, but 2 new recipe.  I must say, I am very pleased with both but especially happy with this one.

As I started to reach for the canned cranberry sauce, I thought to myself, “What the heck am I doing?!”  I quickly googled a recipe for cranberry sauce and was just surprised at how easy it is and how little ingredient is required. So, I’m sharing with everyone!  To be honest, I was a little skeptical at first and stared down the bag of cranberries.  I popped a few in my mouth and immediately spat it back out.  Raw cranberry tastes really bad.  Cranberry sauce on the other hand is amazing!

Ingredients

photo 2

  • 3 cups of fresh cranberry
  • 1 cup white granulated sugar
  • 1 cup brown sugar (lightly packed)
  • 2 cups of orange juice
  • 1/4 tsp. of cinnamon

Directions

1. In a medium sized sauce pan heat up the orange juice and sugar until sugar has dissolved.

2. Stir in cranberries and cook until the berries pop (~20 minutes).  It speeds it up if you cook it covered. Stirk in the cinnamon.

photo 3

3. Cook uncovered for about 10 minutes until sauce turns slightly sticky.

photo 4

4. Remove from heat and let cool and thicken.

photo 5


I loved this recipe.  It tastes so great especially after it was chilled.  I snuck some out and used it as spread for my bagel this morning.  For those with a lighter palate, perhaps cut down to 1/2 cup of white granulated sugar.

Posted in Appetizer, Family Favorite, First time | Tagged | Leave a comment